Aurasma

Aurasma is the primary app and web resource that I utilize for getting my students to create their own augmented reality. For those that do not know, augmented reality is the ability to digitally overlay images or video overtop of a static image or "trigger image." AR is often jokingly referred to as "QR codes on steroids." After creating an aura using Aurasma, you would then point the iPad camera at the trigger image, which would automatically generate the overlay video or image onto the screen of your device.
There are some specific things that you need to know before getting started with Aurasma in your classroom:
1) You need an account via Aurasma Studio
There are some specific things that you need to know before getting started with Aurasma in your classroom:
1) You need an account via Aurasma Studio
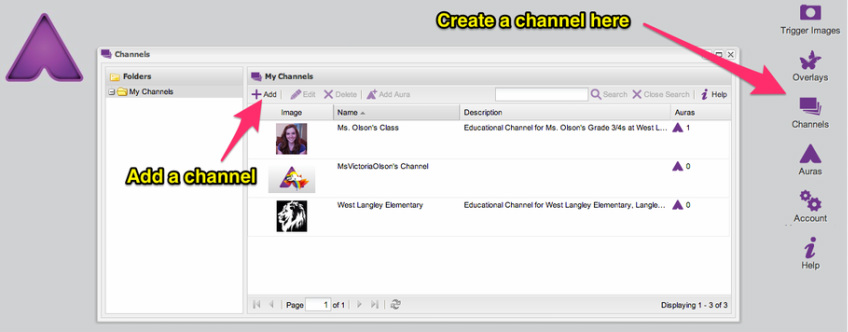
2) Create a Channel for your classroom/class section through your new Aurasma Studio Account
3) You will need to sign into your account on each device that you will use in your classroom OR follow your channel to see the auras you create on your studio account (see gallery below for visuals)
4) UPDATE: Auras created on devices can be viewed immediately on other devices that are signed into the same Aurasma account. However, they cannot be added to a channel for other users to view on their devices. (...yet. Perhaps soon on another update!)
When getting started with Aurasma, it would be prudent to go through these amazing tutorial videos on twoguysandsomeipads.com. The authors of the site are Drew Minock and Brad Waid, and they are leaders in the field of augmented reality in education. There is also a fantastic compilation on their site of "Meaningful Integration of AR in Education," co-authored by several educators, myself included, that hosts some amazing ideas of integrating augmented reality into the classroom.
Happy augmenting of reality!
Happy augmenting of reality!


